AlfaGTA
Diamond
- Joined
- Dec 13, 2002
- Location
- Benicia California USA
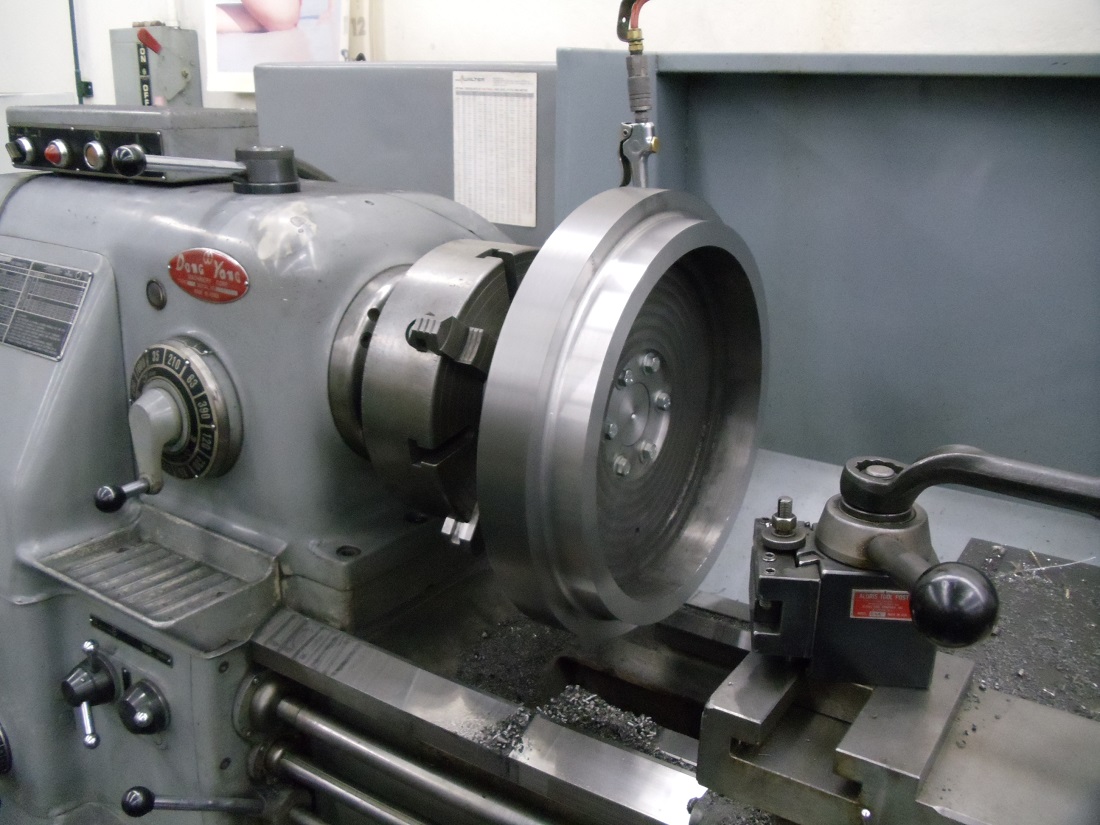
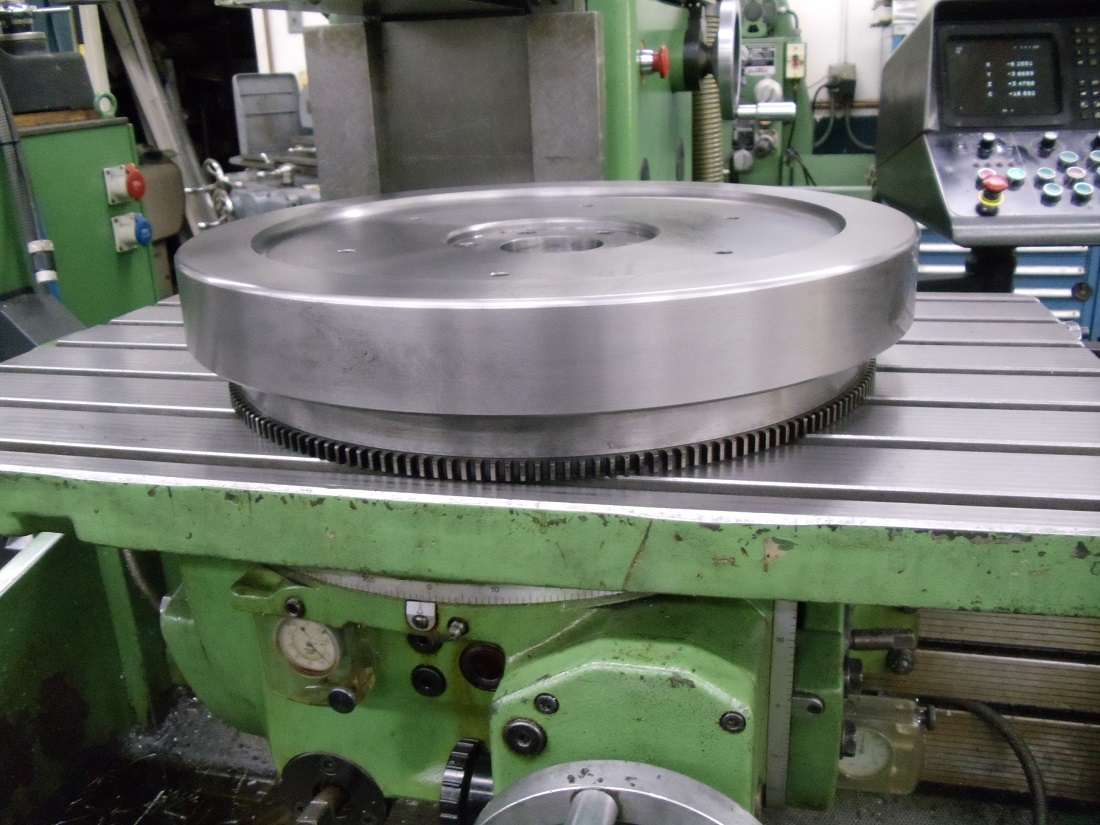
So i have this little job here....Tasked to make a new flywheel for a 1913 Mercer Race-about.
Tried with no success to get local shops that have a VTL to do this with no success.
Now i own a nice 21 inch swing lathe that is large enough to turn the material, but no way to hold it to start, So.....................
Began with a hunk of 19+ inch diameter x 4.5" long Ductil iron slug....
So it begins. Set the blank on the table of my trusty FP4NC, setup on 2-4-6 blocks to get clearance off the table and drilled a hold through...
Hole would later be enlarged to 2.500" Id which will be the locating feature on the crankshaft.
Hole provides method for evacuating the chips from the pocket i will machine.
Tool is 1" HSS "Hog" mill.
Used coolant (cutting oil) to help flow the chips from pocket.
Pretty much used G76 canned cycle to cut the pocket......

Part is held using clamps on the face. This side of the flywheel has a shallow offset. Will be much deeper on the opposite side
Scroll ahead, and i have finished milling the rough step on the first side, cut in the step for the flywheel flange and finished bored the register diameter for locating the flywheel.
Have also finished drilling the holes for mounting the clutch (Outer bolt circle) and the crank mounting bolt hole circle (finished bored)

Here i have moved the hold downs to through bolts using the holes for the clutch.
Allows access to the face of the part. Here i have finished the face using a 3" face mill....Here i could not use the machines circular interpolation because the overall size was over the travel limits (19+")
I used the 2038 tables rotation to rotate and face the part.
Now i have a good surface to set the part on and it is turned over (thank heaven for cranes).
I cut in notches on the OD using a large "T" slot cutter. These notches will disappear when the OD is brought to the finished diameter of 17+ inch OD.....
Hold down clamps use the notch for purchase to hole the part.
Also note the quill extension , needed to allow clearance for the "Y" slide to clear the part when going to full depth.
Now begin cutting the deep pocket on the 2and side.....
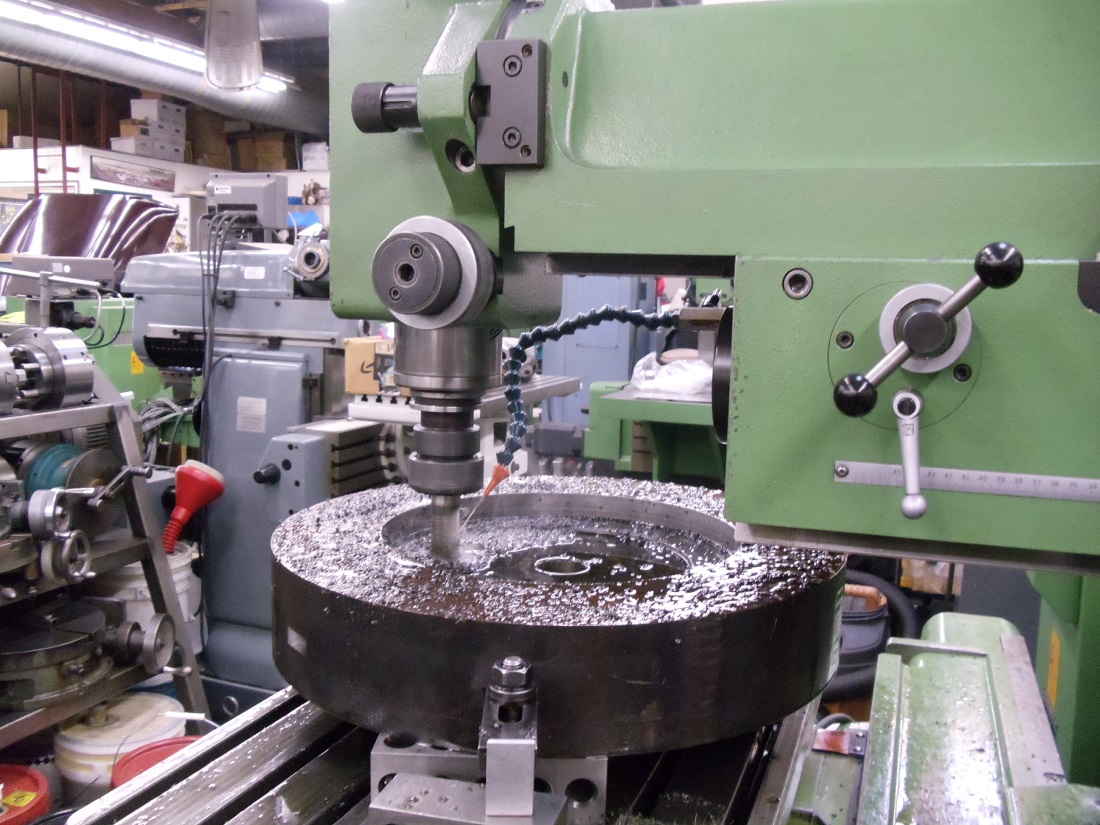
Here is the pocket , pretty much to rough depth.....Hard to see in teh photo but there is a step left at the bottom /ID this is to account for a finished fillet that will blend the ID to the floor of the pocket....

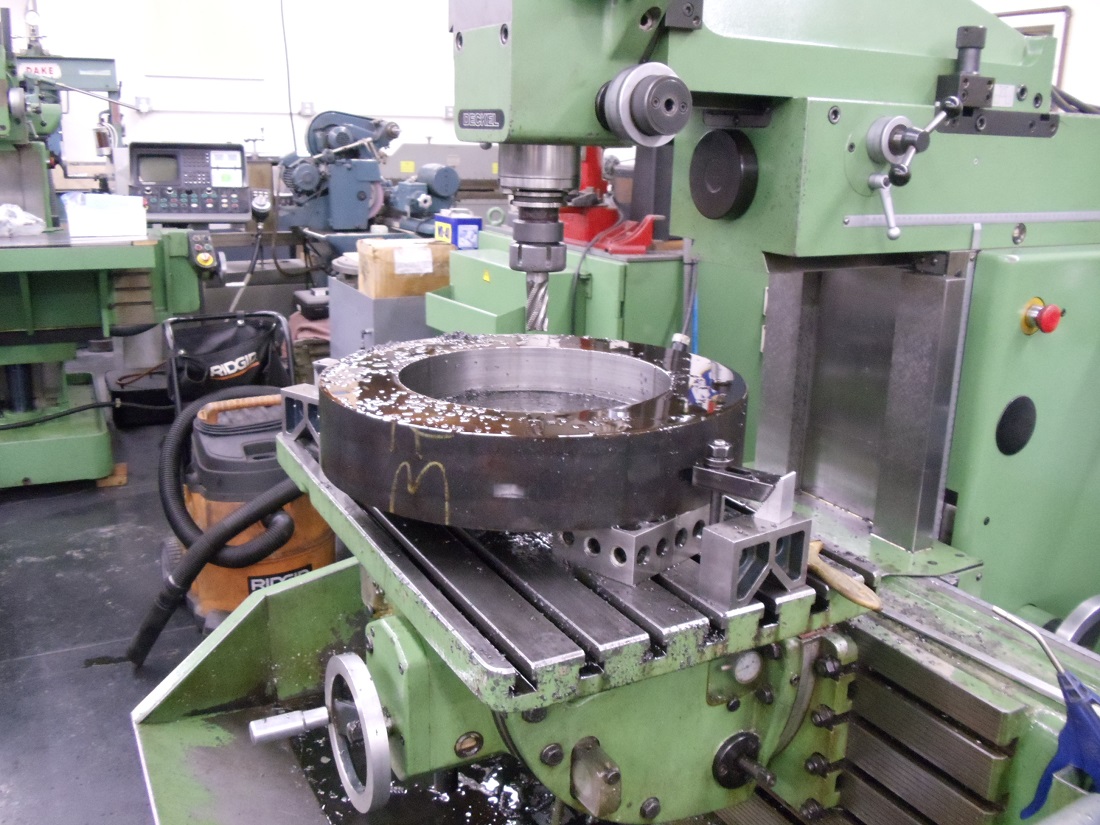
More to follow.......if you aren't bored yet....
Tried with no success to get local shops that have a VTL to do this with no success.
Now i own a nice 21 inch swing lathe that is large enough to turn the material, but no way to hold it to start, So.....................
Began with a hunk of 19+ inch diameter x 4.5" long Ductil iron slug....
So it begins. Set the blank on the table of my trusty FP4NC, setup on 2-4-6 blocks to get clearance off the table and drilled a hold through...
Hole would later be enlarged to 2.500" Id which will be the locating feature on the crankshaft.
Hole provides method for evacuating the chips from the pocket i will machine.
Tool is 1" HSS "Hog" mill.
Used coolant (cutting oil) to help flow the chips from pocket.
Pretty much used G76 canned cycle to cut the pocket......

Part is held using clamps on the face. This side of the flywheel has a shallow offset. Will be much deeper on the opposite side
Scroll ahead, and i have finished milling the rough step on the first side, cut in the step for the flywheel flange and finished bored the register diameter for locating the flywheel.
Have also finished drilling the holes for mounting the clutch (Outer bolt circle) and the crank mounting bolt hole circle (finished bored)

Here i have moved the hold downs to through bolts using the holes for the clutch.
Allows access to the face of the part. Here i have finished the face using a 3" face mill....Here i could not use the machines circular interpolation because the overall size was over the travel limits (19+")
I used the 2038 tables rotation to rotate and face the part.
Now i have a good surface to set the part on and it is turned over (thank heaven for cranes).
I cut in notches on the OD using a large "T" slot cutter. These notches will disappear when the OD is brought to the finished diameter of 17+ inch OD.....
Hold down clamps use the notch for purchase to hole the part.
Also note the quill extension , needed to allow clearance for the "Y" slide to clear the part when going to full depth.
Now begin cutting the deep pocket on the 2and side.....

Here is the pocket , pretty much to rough depth.....Hard to see in teh photo but there is a step left at the bottom /ID this is to account for a finished fillet that will blend the ID to the floor of the pocket....


More to follow.......if you aren't bored yet....
Last edited:


